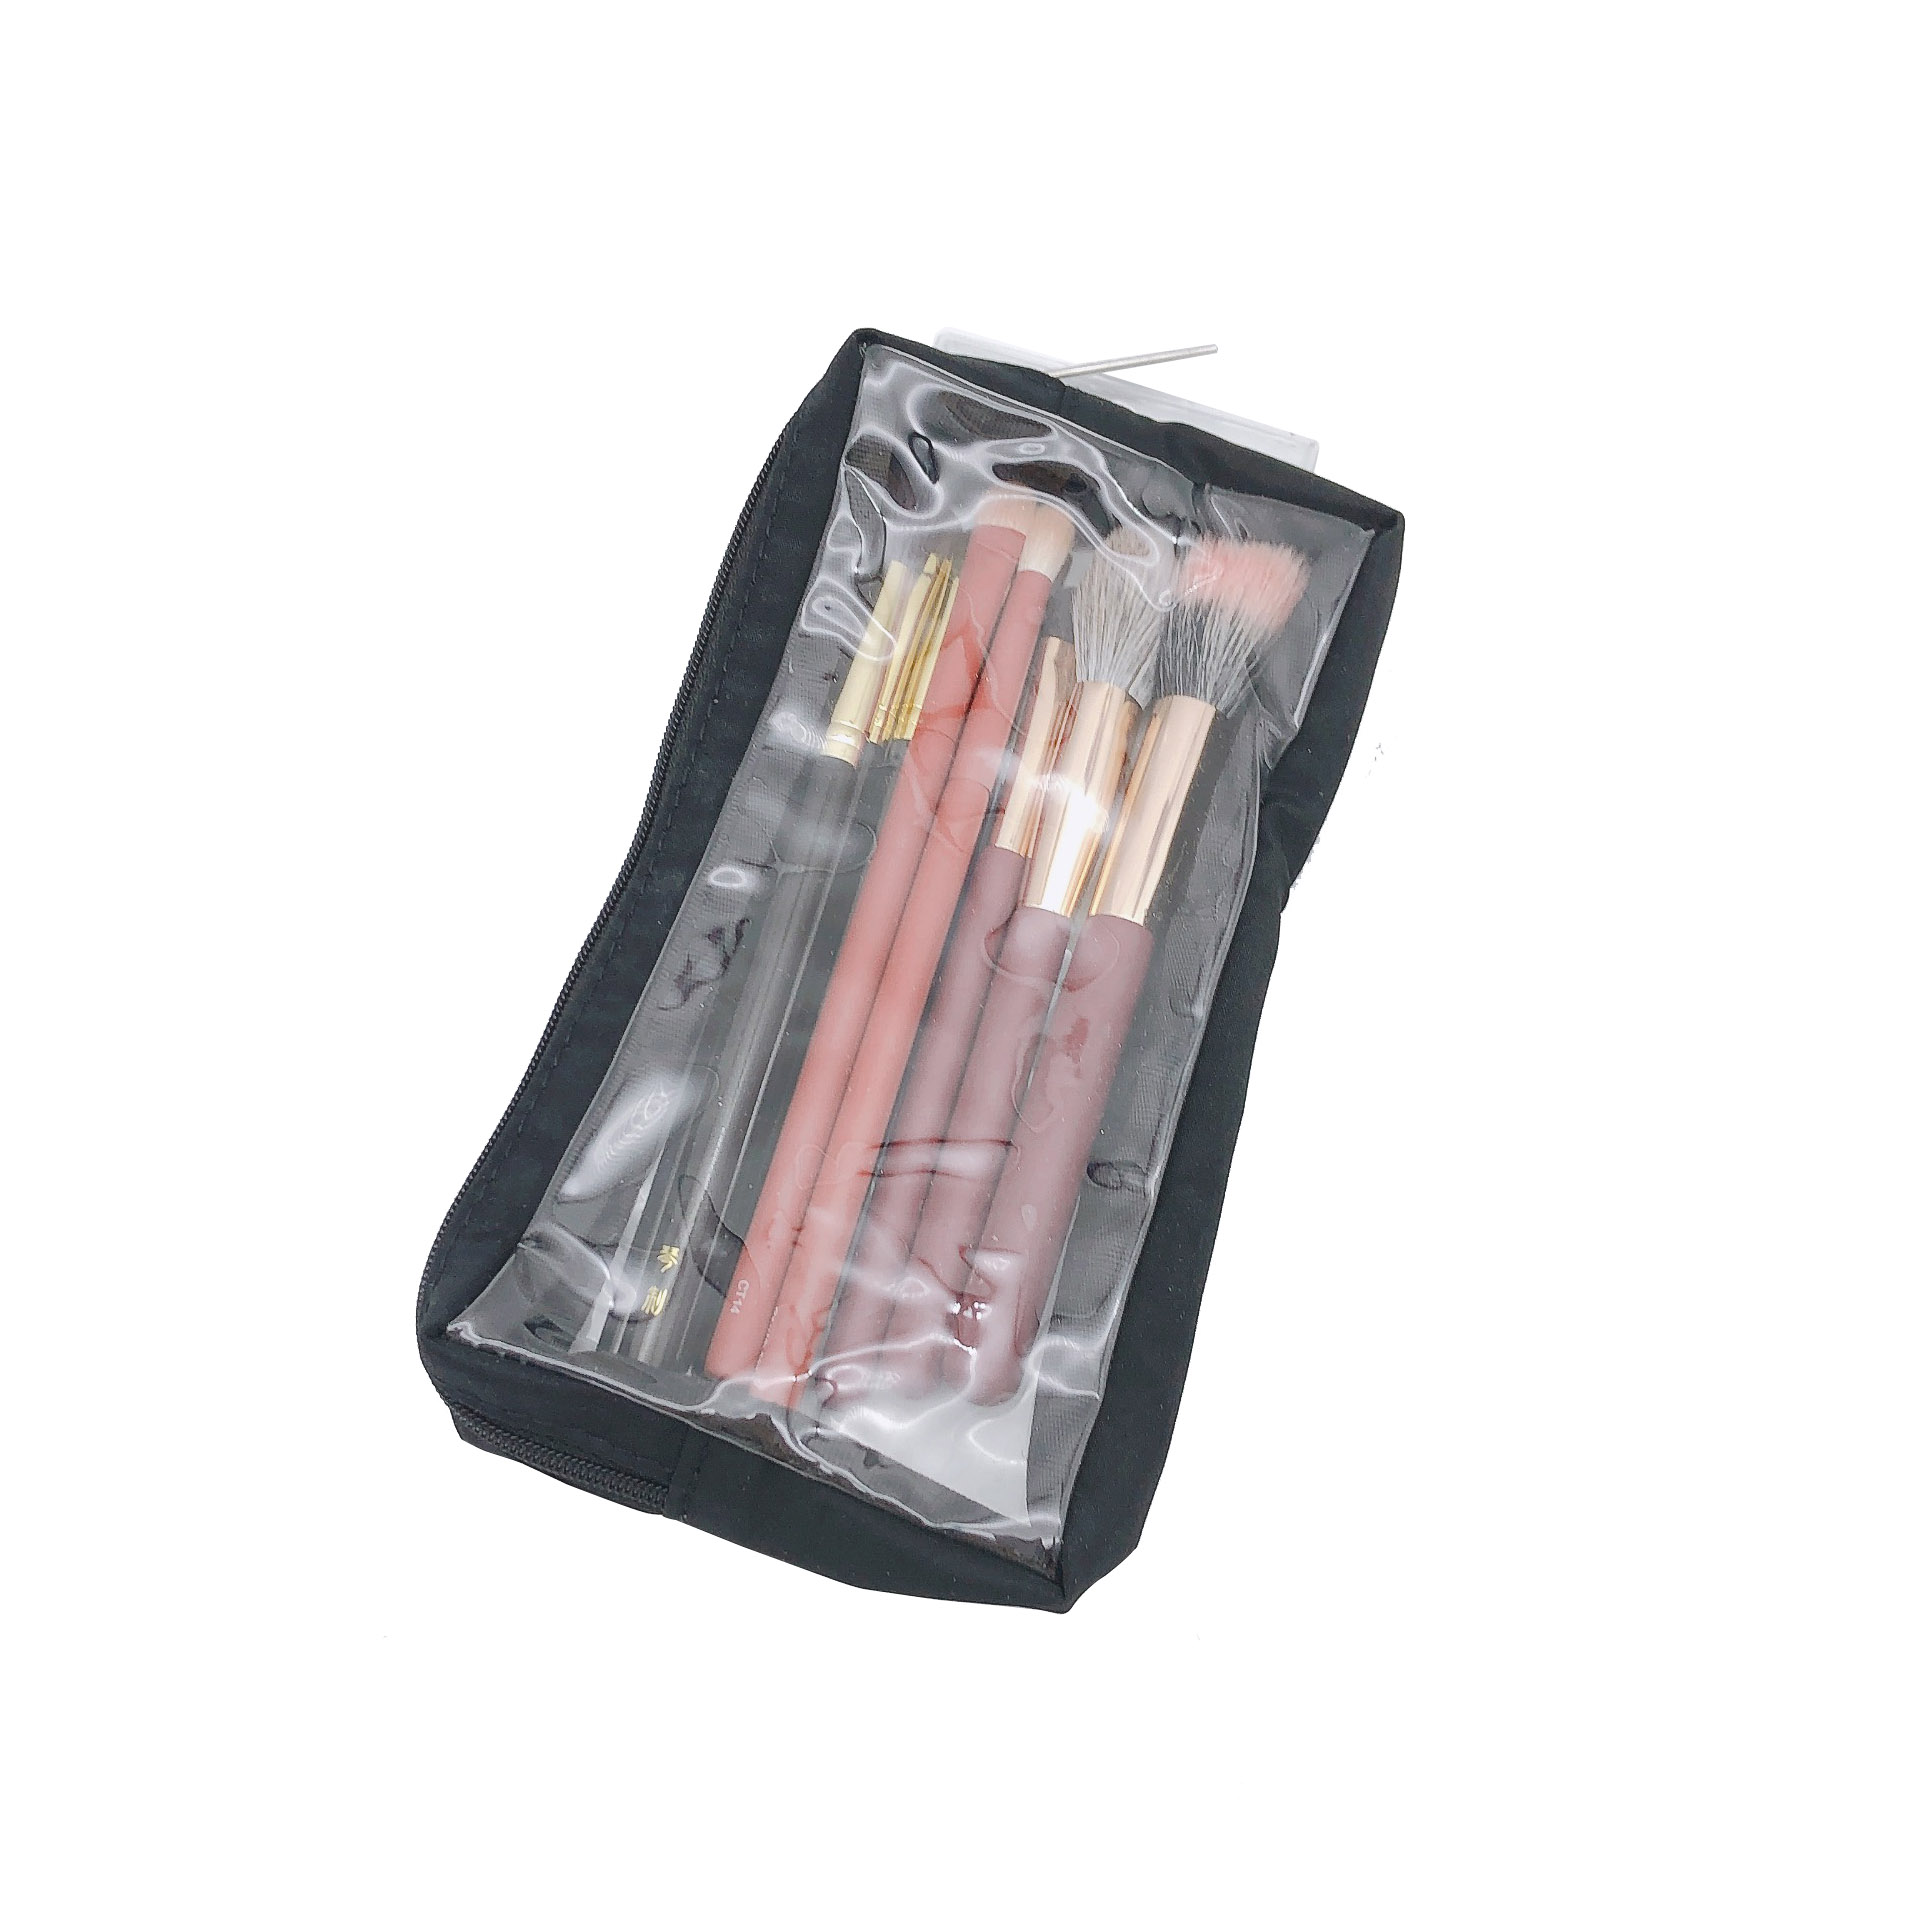
Master the craft of making a cosmetic bag with ease

Are you looking to add a personal touch to your cosmetic storage? Look no further! In this article, we will guide you through the process of creating your own cosmetic bag from scratch. The best part? We have included size charts to make your experience even easier and more enjoyable. So, let's dive in and explore the world of cosmetic bag making!
Gathering the necessary materials
The first step in creating your own cosmetic bag is to gather all the necessary materials. Here's a list of what you'll need:
- Fabric of your choice
- Lining fabric
- Zippers
- Thread
- Scissors
- Measuring tape
- Pencil or fabric marking pen
- Sewing machine (optional)
Once you have collected all the materials, you're ready to move on to the next step!
Using size charts for perfect measurements
Size charts are an invaluable tool when it comes to creating a cosmetic bag that fits your needs perfectly. They ensure that you achieve the ideal size and dimensions for your bag. Here's a simple size chart to help you get started:
| Bag Type | Size | Dimensions (Width x Height x Depth) |
|---|---|---|
| Small Pouch | XS | 8" x 4" x 2" |
| Medium Bag | S | 10" x 6" x 3" |
| Large Bag | M | 12" x 8" x 4" |
Using the size chart, select the dimensions that best suit your needs and make a note of them. This will be extremely helpful when it comes to cutting and sewing the fabric.
Crafting your own cosmetic bag
Now that you have all the necessary materials and your desired measurements, it's time to start crafting your cosmetic bag. Here's a step-by-step guide:
- Measure and mark the dimensions of the bag on the fabric and lining.
- Cut out the fabric and lining, leaving an additional half-inch seam allowance on all sides.
- Attach the zipper to the fabric pieces, ensuring it is centered.
- Sew the fabric pieces together along the sides and bottom, leaving the top open.
- Repeat the previous steps for the lining fabric.
- Turn the fabric bag right side out and slip it into the lining fabric.
- Sew the top edges of the fabric and lining together, leaving a small opening.
- Turn the bag right side out through the opening and stitch it closed.
- Your cosmetic bag is now complete and ready to be used!
Remember, practice makes perfect, so don't be discouraged if your first attempt isn't flawless. With time and practice, you'll become a cosmetic bag-making pro!
In Conclusion
Creating your own cosmetic bag is a rewarding and fun experience. By using size charts, you can ensure that your bag fits your needs perfectly. Follow the step-by-step guide, and soon you'll have a stylish and functional cosmetic bag that reflects your personal style. So, gather your materials, get creative, and enjoy the process of making your very own cosmetic bag!
Tags:your bag cosmetic fabric size step lining materials own charts
 LEES PROMOTION
